Details:
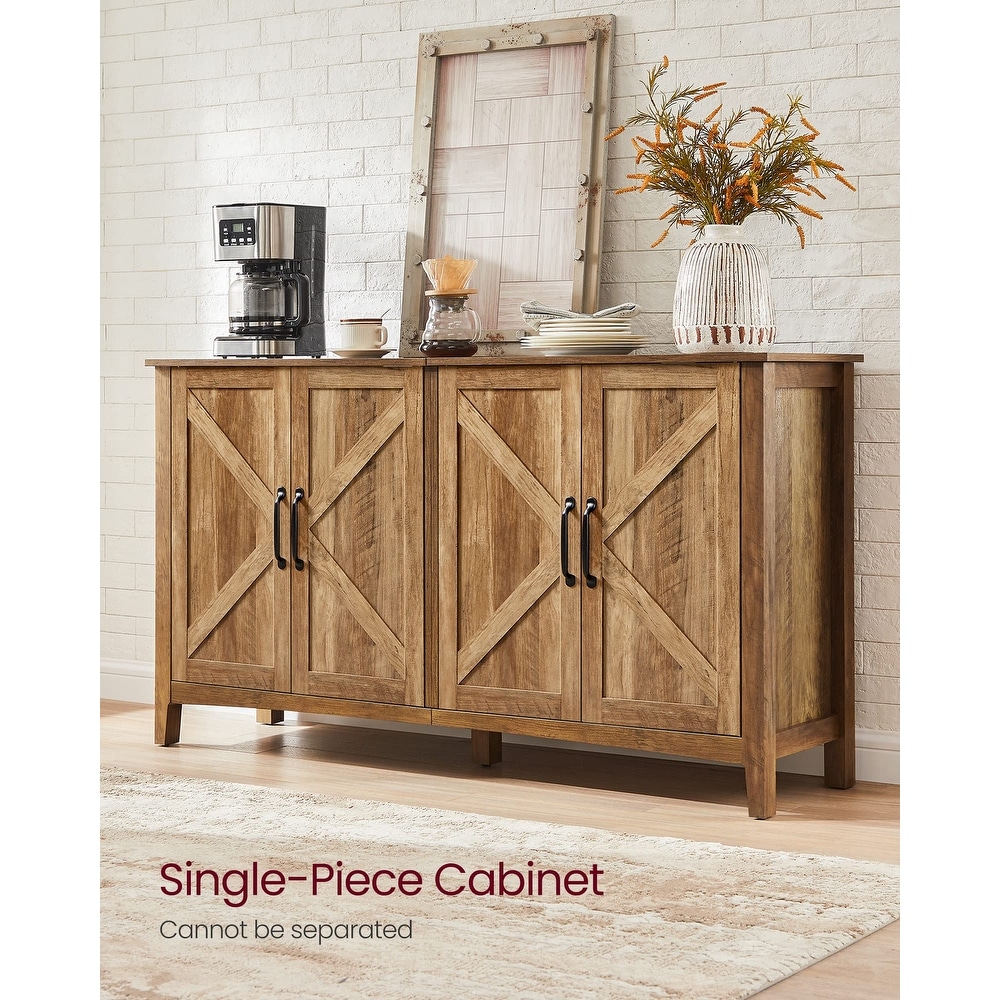
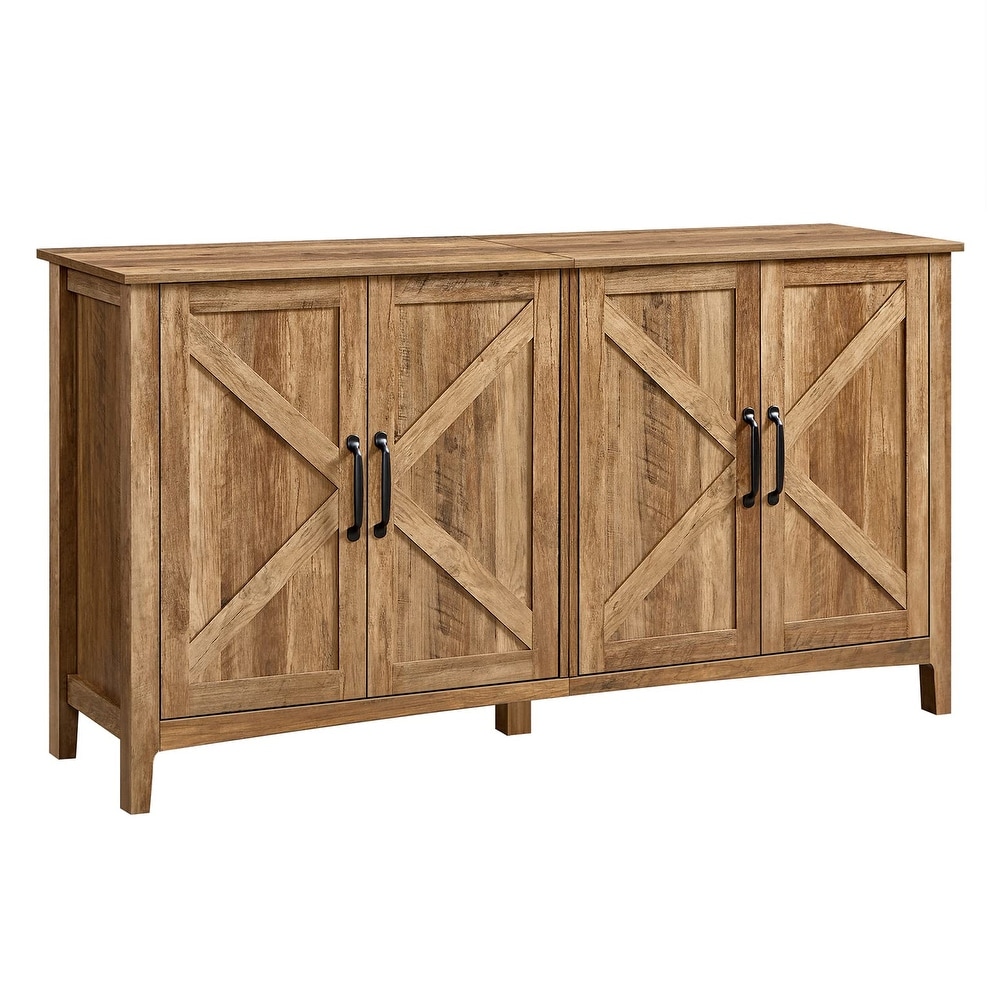
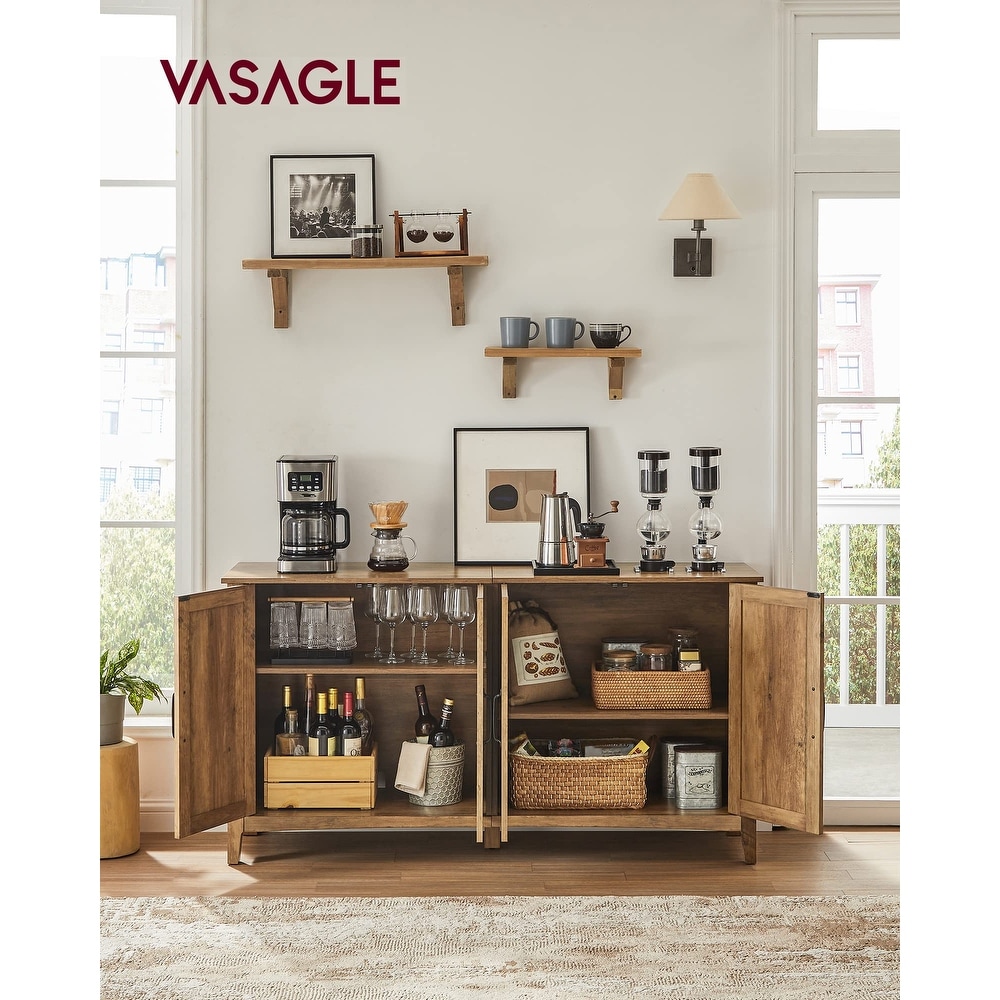
[Storage, Farmhouse-Style] Want to store your items in style? Don't miss out on this buffet cabinet. The 4-door rustic walnut cabinet adds a great farmhouse flair to your home while offering tons of storage space
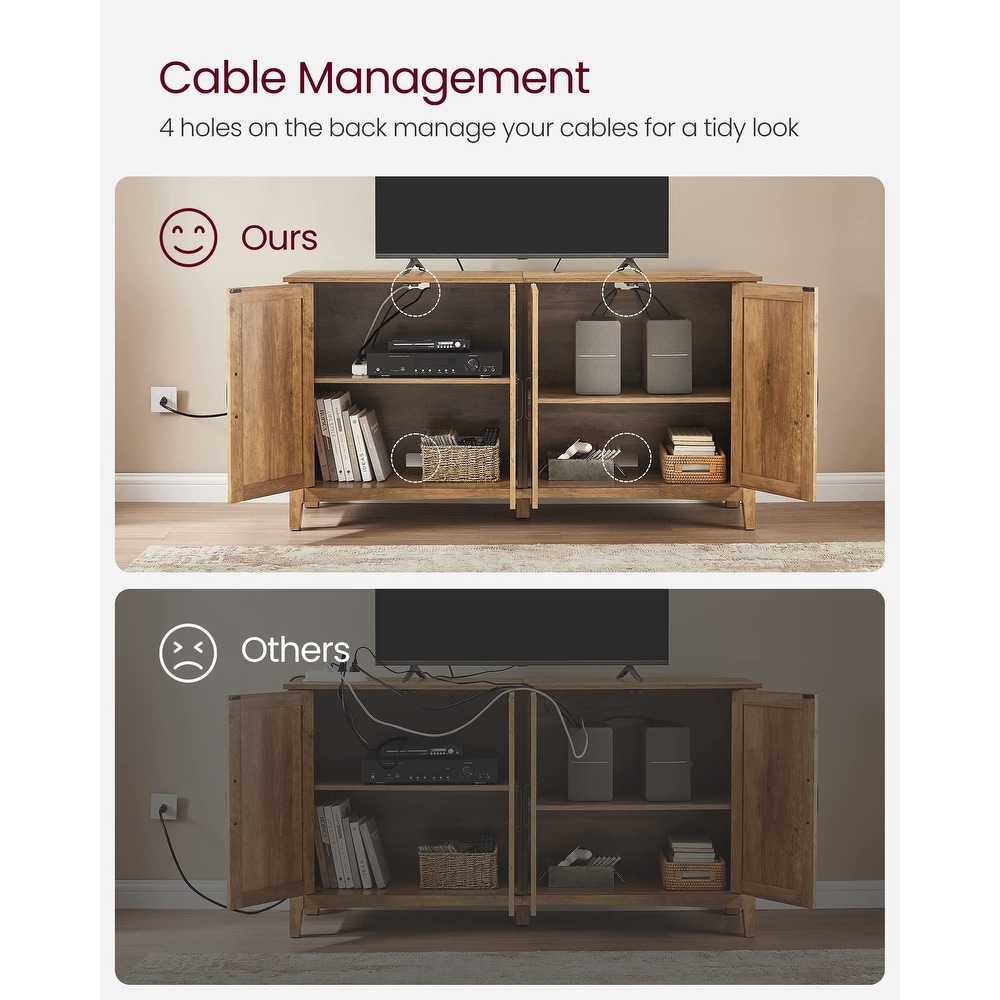
[Cables, Under Control] 4 cable holes on the back of this buffet table allow cords to go through and stay out of sight. You can display TVs up to 65" on the stand without cables diminishing your home decor
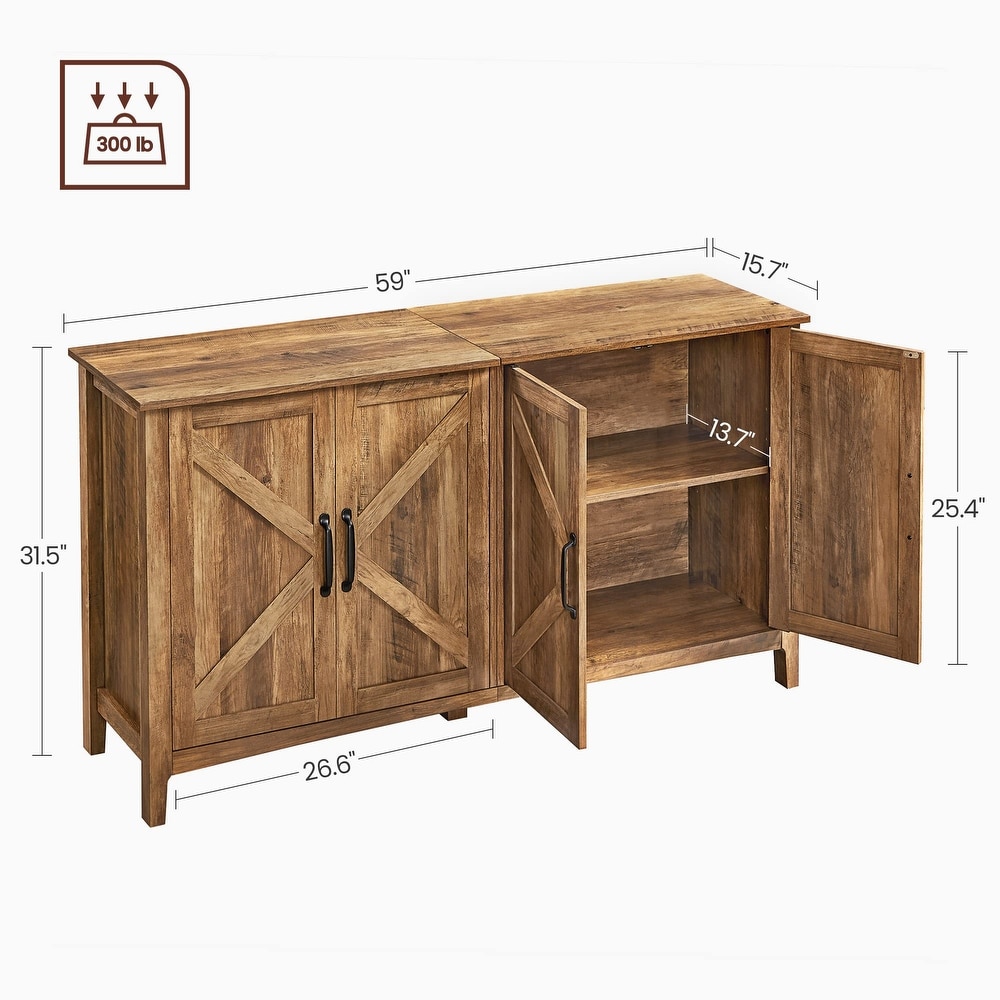
[Items of Varying Sizes] Inside this show-stopping sideboard are 2 adjustable shelves, each with 5 adjustable positions (each 2.5" apart), allowing you to stash away various items, big or small
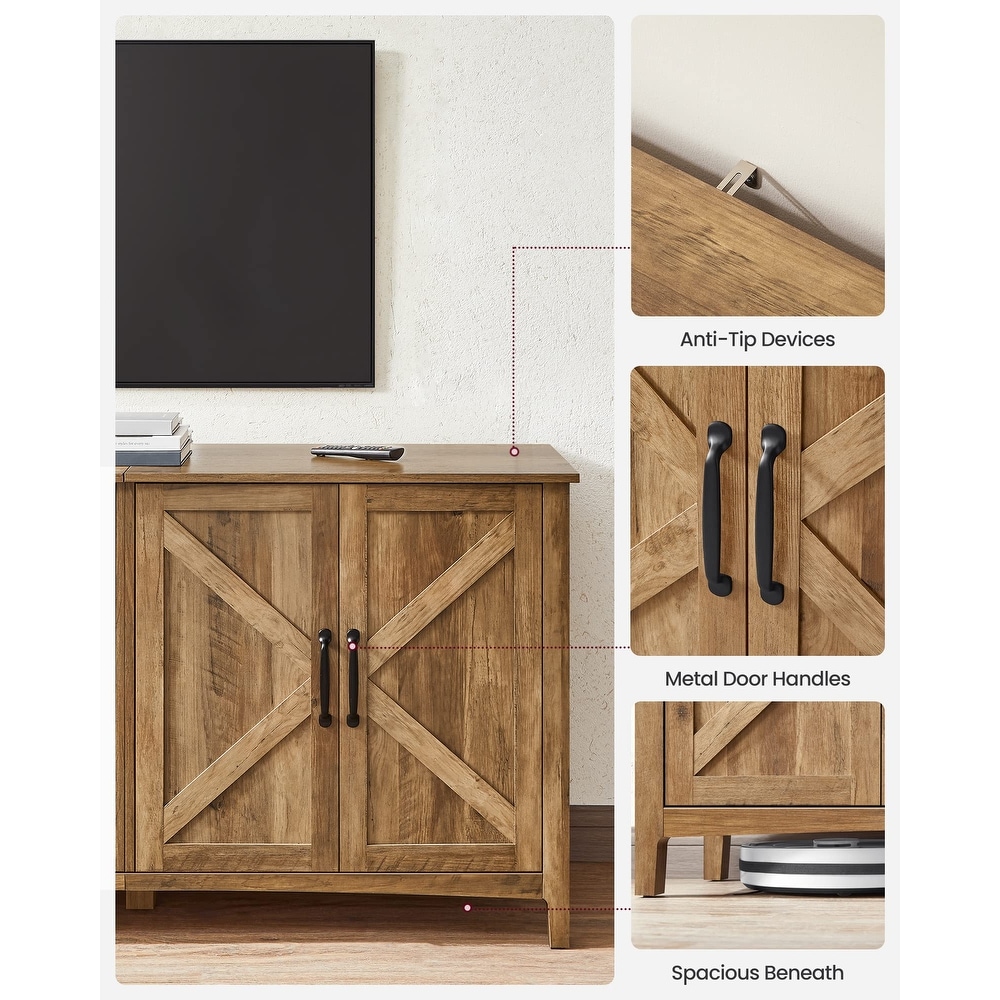
[Tall Legs, a Nice Touch] The legs of the buffet bring the bottom of the cabinet 3.5" off the floor, giving the charming cabinet a boost in looks and making it easy to clean underneath―two birds, one stone
[Safe Use] Safety is a top priority. That's why anti-tip kits are provided to prevent the console from falling, giving you and your loved ones much-desired protection
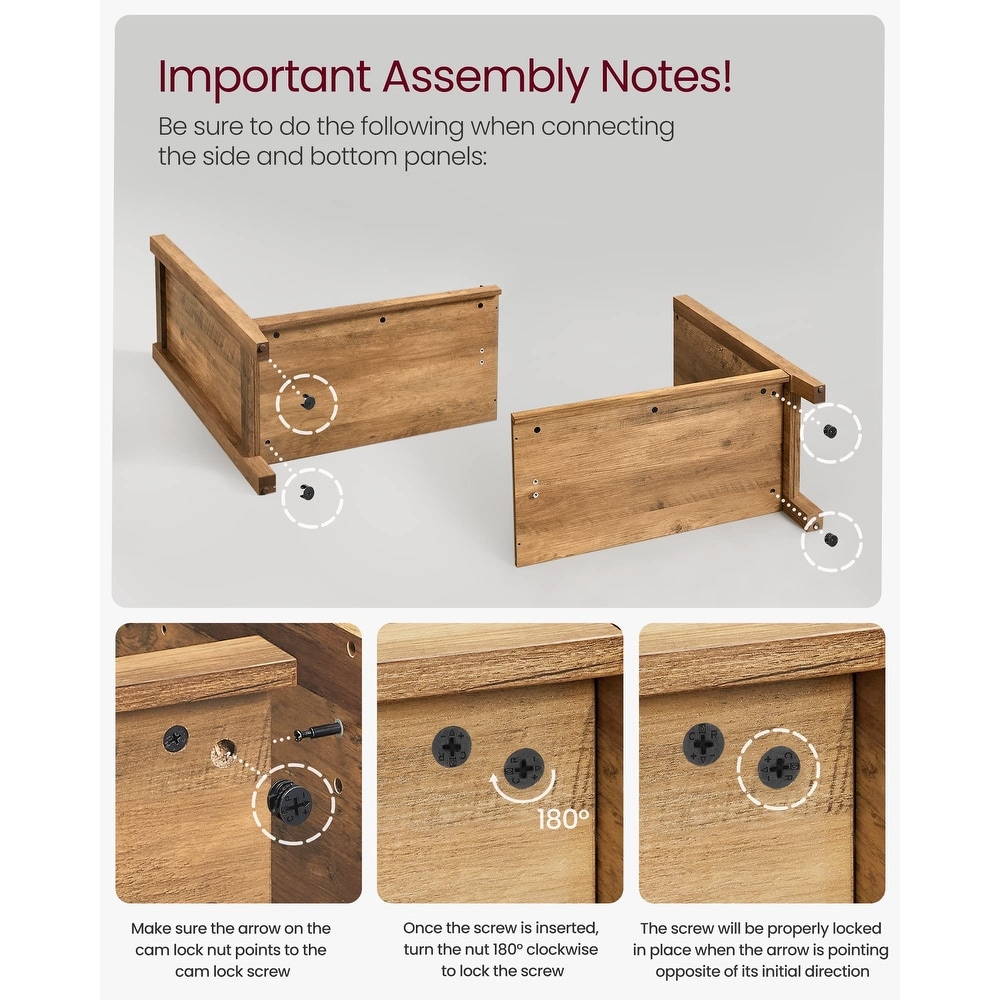
[Assembly Tip] Follow Step 6 in the instructions closely! Make sure the arrow on the cam lock nut points in the right direction to insert the nut, and then turn it 180° to lock the screw in place, so the sides and bottoms can be joined tightly together


Comment